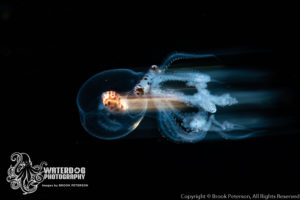
This post is intended to be a gateway to different aspects of macro photography. There are many links; each leading to posts or tutorials that will explain more about the subject. Please feel free to click away!
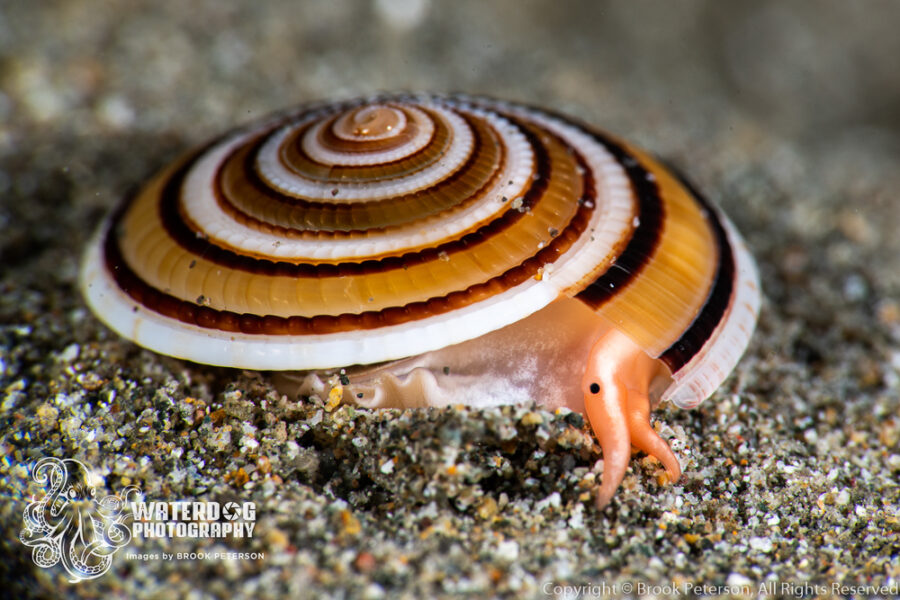
Tiny critters are one of the most intriguing aspects of scuba diving. They are sometimes weird, often beautiful, and even a little creepy. Sometimes they defy description and it is because of this that they are popular to photograph. How else can you describe the intricacies of a Melibe colemani nudibranch, or the colors in a Peacock mantis shrimp? Macro photography comes to the rescue in convincing our friends (and sometimes our mothers) that diving is worth the risk. But in order to plead our case to those land loving doubters, it is necessary to have the right equipment.
Some compact cameras take excellent macro photos, but if you are not shooting with a compact camera, then lenses are paramount to our success when choosing to shoot macro. If you are shooting with a DSLR or mirrorless camera, a good macro lens to start with should be in the range of 60mm to 105mm. These lenses have a short focusing distance, usually just a few inches, which allows the photographer to get up close to the subject and fill the frame.

If you want to shoot super macro, or something that is smaller than the size of your camera’s sensor, you will want to add a diopter. Diopters come in different strengths from +5 up to +25 and higher and generally have a 67mm thread so they can screw on to the end of a macro port or adapter. They are wet lenses, so they can be removed under water. The higher the + number, the more magnification you will get, but you will also lose depth of field as you go higher, so be aware of this. It is much more difficult to shoot with a +25 diopter than a +5, so be aware that there is a learning curve.

Proper lighting is another equipment consideration. When you are dealing with a tiny subject, it is more difficult to isolate it from the environment it lives in because the spread of light from the strobes is much more vast than the size of the animal itself. For this reason, photographers often use a “snoot” to reduce the cone of light to a size that is comparable to the subject.

Other equipment considerations include “creative” tools, many of which can be home made, or found in the underwater photography market. These include a whole host of new snoot torches that are hand-held or mounted lights. They give continuous light so that you don’t have to guess where the snoot light will fall. Many of these have colored gels or filters that can be added to give a colorful effect.


In addition to snoot torches, there are tools to create reflections around the animal, mirrors, colored backgrounds and bubbles.


Macro photography can be a challenge in many ways, but there are a lot of tricks of the trade that make it easier and more creative. Let the journey be fun and don’t be afraid to try new things. Having the right equipment is important, but good photography happens first in your own creative mind.
Join me for a workshop! Travel to a great destination where you will have exclusive coaching on your underwater photography. Meet new people, network, try new techniques, and learn with the pros! Click on Travel and Workshops for more information.
Subscribe now!
As always, if you enjoy my images please visit my website, waterdogphotography.com, or give me a like on Facebook at Waterdog Photography Brook Peterson. Don’t forget to follow me here at waterdogphotographyblog and please feel free to share on Facebook or other social media.
My photographs are taken with a Nikon D850 in Sea and Sea Housing using two YS-D2J Strobes.
All images and content are copyright protected by Brook Peterson and may only be used with written permission. Please do not copy or print them. To discuss terms for using these images, please contact me.
© Brook Peterson 2019

