Sometimes we have an image that needs just a little punch to give it that edge we are looking for. Maybe it needs a punch to color, or sharpness, or maybe it needs a complete tonal makeover. Here I have compiled a few of my favorite tips for finishing an image.
Quick Color Adjustments in Lightroom

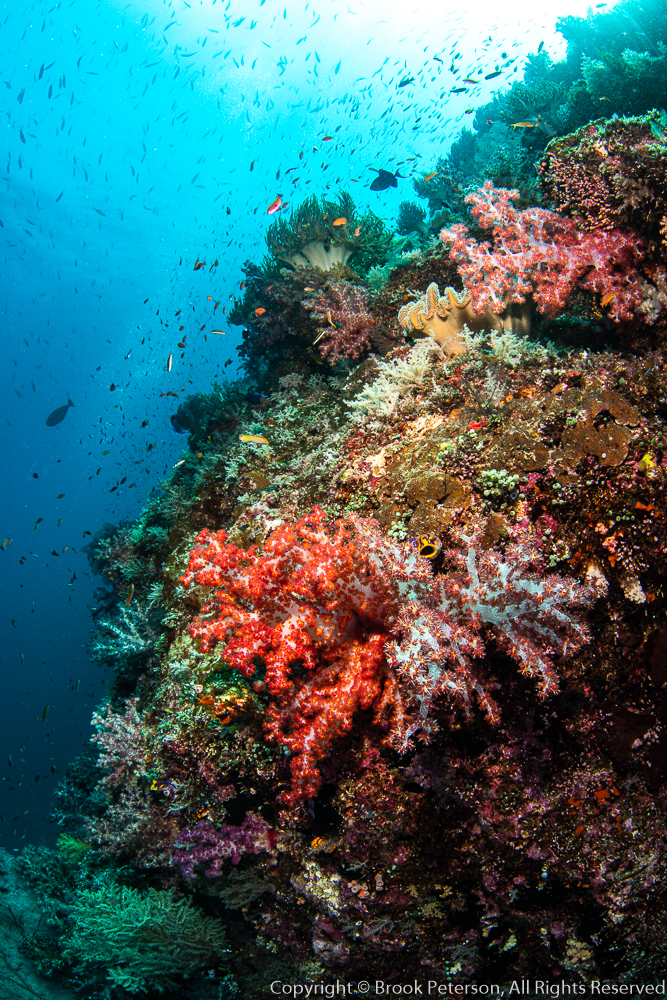
Occasionally I have an image that just doesn’t have the color saturation that I want. Usually, this is because there was too much water between my subject and my camera when I took the shot. But the shot may still be salvaged. After I have gone through my usual workflow, and the image still looks dull, I try these three things: Adjust the tone and tint sliders for better white balance, change the Profile in the Develop Module (I like “Adobe Vivid”), and add a little Dehaze. I may not need to do all three and in fact, at this point your image is subject to your whims but each or all are worth a try to get that extra punch.

White Balance added 
Temp and Tint Sliders Adjusted 
Profile: Adobe Vivid added 
Under Profile Select Adobe Vivid 
Dehaze added 
Dehaze Added and Tint Subtracted
Sharpening using Lightroom and Photoshop
Sometimes, sharpness is all I am looking for. I can sharpen the image several ways, but since I work mainly in Lightroom, I will try that first.

This nudibranch has lovely rhinophores and I want to sharpen them up a bit to showcase them. I have already added a bit of texture and clarity with the sliders in the basic module of Lightroom.
In the “Detail” panel of the Develop Module, I want to add a little bit more sharpness, but only to the edges of the rhinophores. To see the edges, hold down the “Alt” (PC) or “option” (MAC) key while clicking on the “masking” slider. Your image will turn to black and white and as you pull the slider up, it will begin to define the edges. When you have reached the point where the edges show but not the other details, you can release the key, then pull the “Amount” slider all the way up to 150. This way, only your edges will be sharpened, and not the entire image.

If this is still not sharp enough, I will then move my image into Photoshop by right clicking on the image and selecting “Edit in Adobe Photoshop.” Once it opens, I will use a two step process to sharpen the image more. First, select “Filter”- “Sharpen”-“Smart Sharpen.” The dialog box will appear where you can set the amount and reduce noise if you prefer. I typically set the amount to 100%. Then select “okay.” Next, I will select the sharpen tool from my toolbox. It is in the shape of a triangle and is housed with the blur and smudge tools. You can set the strength of the sharpening tool at the top of the panel under “strength” and I usually use about 50%. Then run the brush over the parts you want to sharpen which in this case is the rhinophores. Click Save, and your image will be saved in Lightroom with the edits from Photoshop. Voila! Nice sharp rhinophores.

Brightening the Blues
Sometimes an image just doesn’t have the beautiful bright blue background that I desire. This is sometimes because the water just wasn’t clear to begin with, you have had to adjust the white balance and it desaturated the blues, or it was underexposed. One way to brighten up dull water is to go to your HSL panel in Lightroom.

I like to work with “All” selected at the top of the panel so that I can see Hue, Saturation, and Luminance separately. For this image, I adjust the “Hues” both aqua and blue toward the right so that they are a truer blue. I don’t need to do anything with saturation, but I can use the Luminance sliders for the blues to brighten up the blue background so that my image looks much better.

Keep in mind that each image has different elements, so you may need to try different sliders such as “saturation” for your image. You may even want to de-saturate colors such as aqua or green.
These tips are just a few of the finishing touches I use when I am post processing my images. I hope these tips will help you finesse your photos so that they can be the best they can be.
Join me for a workshop! Travel to a great destination where you will have exclusive coaching on your underwater photography. Meet new people, network, try new techniques, and learn with the pros! Click on Travel and Workshops for more information.
Subscribe now!
As always, if you enjoy my images please visit my website, waterdogphotography.com, or give me a like on Facebook at Waterdog Photography Brook Peterson. Don’t forget to follow me here at waterdogphotographyblog and please feel free to share on Facebook or other social media.
My photographs are taken with a Nikon D850 in Sea and Sea Housing using two YS-D2J Strobes.
All images and content are copyright protected by Brook Peterson and may only be used with written permission. Please do not copy or print them. To discuss terms for using these images, please contact me.
© Brook Peterson 2020


