We, as underwater photographers, talk about backscatter all the time. But mostly we talk about how to remove it from our photos when we are processing them. I have spent countless hours on the labor intensive chore of removing those annoying specks and I have spent a great deal of time studying different removal methods. Recently, I listened to a friend give a lecture on methods to prevent backscatter in the first place; something all underwater photographers should focus attention on if we are ever to be taken seriously. His tips reminded me how important it is to be a good photographer first, and a good photo editor second.
First off, backscatter is the term we use to describe the little specks that are floating around in the water and are lit up by our strobes. When they are out of focus, they look like big hazy blobs in our photos, and when in focus, they often resemble dust in the air. There are lots of ways to prevent backscatter when you are creating the image, as well as lots of ways to “clean” it up in post.

If the visibility in the water is poor, you will be much more likely to struggle to avoid backscatter than if the water is crystal clear. But, even in clear water, you must be a good diver to avoid stirring up sand and silt. Controlling your buoyancy and especially your fins will help a lot. It is also important that you plan ahead for the conditions that you expect to encounter. If you expect to have clear water and great visibility, go ahead and plan to shoot large scenes, but if the visibility is poor, you will want to shoot close focus wide angle, or macro to help cut down the backscatter in your images.

The best way to reduce backscatter is to get really close to your subject. The less water you have between your lens and your subject, the less particulate will be in the image. If you want to shoot close focus wide angle, consider using the smallest dome port you have so that you can get close to the subject. If you want to shoot macro and the visibility is poor, try using a lens that will reduce the working distance between your lens and your subject. For example, a typical DSLR lens for macro is around 100mm, but if you can use a 50mm or 60mm lens you will get better results because the focal plane is closer on a wider lens, and that reduces the amount of water between your lens and subject. Alternatively, you can use a diopter such as the Nauticam SMC-1 which will reduce the working distance to mere inches.


There are lots of techniques you can employ to reduce backscatter once you are in the water. Consider using motion blur which will hide any backscatter and actually accentuate it as “movement” in the image. This can be done on both wide angle and macro subjects.

Another technique is to use a shallow depth of field. When your focus plane is only a few millimeters, backscatter is much more unlikely because so little of the water is in focus and any backscatter will be blurred beyond notice.

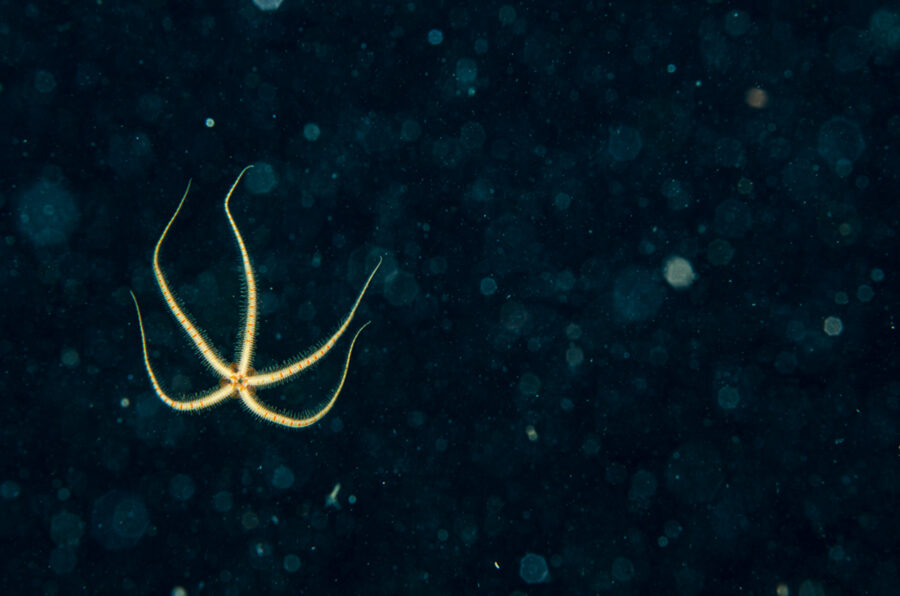
When you are shooting macro, it is common to put your subject against a black background. But if you lighten up the background you will be more likely to hide backscatter. Try this technique along with an open aperture to blur the water in the background and see how that affects the backscatter!


Alternatively, you can shoot directly into the substrate so that there is very little water behind the lens, or so that the reef hides the backscatter. You may still have to clean up the photo, but it won’t be as intensive.
Light and the position of light does make a difference when trying to reduce the backscatter in your images. If you are shooting wide angle, be sure your strobes are back behind the handles of your housing. If they are not, lens flare will accentuate any particulate in the water and often ruins an otherwise good shot. If you are shooting macro, consider using a snoot to reduce the amount of light that hits the water. When you are only lighting the subject and not the water around it, you have a better chance of reducing backscatter.


This is true for wide angle photos as well. You can reduce the angle of the beam coming from the strobes by restricting the light as it comes out the end. I have used the cut off wrists of an old wet suit to accomplish this. Let the neoprene cover the strobe head and hang out over the beam about an inch to keep the light from fanning out. You can also use a piece of PVC pipe that fits your strobe, or a plastic water bottle cut and taped around the end of the strobe. It doesn’t have to be anything fancy. In a pinch, I have even used my hand to reduce the cone of light by holding one strobe with my fingers encircling the beam. (Of course, you would only use one strobe in this case.)
Although there is backscatter present in the anemone photo, it is greatly reduced by restricting the light from the strobe to just fall on the anemone.
Speaking of one strobe, you can also reduce the backscatter by using just one strobe and lighting from above. You could also point your strobes in toward your housing so that the beam of light behind the subject is reduced. This works for macro photography, and close focus wide angle photography, but you will probably need to turn the power down on the strobes to avoid hot spots.

Lastly, the old adage, “if you can’t beat ’em, join ’em” comes into play when there is poor visibility and a lot of particulate in the water. Try to find ways to use the backscatter to your advantage. I have seen backscatter that appears to look like stars, and other winning photographs where the backscatter adds significant interest to the photo. Usually, this has been accomplished by using light in creative ways such as back-lighting the subject. In any case, it is more important what you do in camera than what you do in post, because solving the problem while shooting is how you improve as a photographer.
This article was originally published in Dive Log Australasia, January 2023. You can read it HERE.
Join me for a workshop! Travel to a great destination where you will have exclusive coaching on your underwater photography. Meet new people, network, try new techniques, and learn with the pros! Click on Travel and Workshops for more information.
Subscribe now!
As always, if you enjoy my images please visit my website, waterdogphotography.com, or give me a like on Facebook at Waterdog Photography Brook Peterson. Don’t forget to follow me here at waterdogphotographyblog and please feel free to share on Facebook or other social media.
My photographs are taken with a Nikon D850 in Sea and Sea Housing using two Retra Pro Strobes.
All images and content are copyright protected by Brook Peterson and may only be used with written permission. Please do not copy or print them. To discuss terms for using these images, please contact me.
© Brook Peterson 2022


